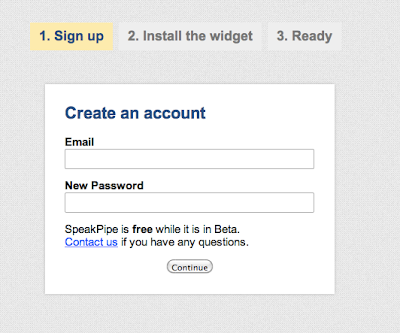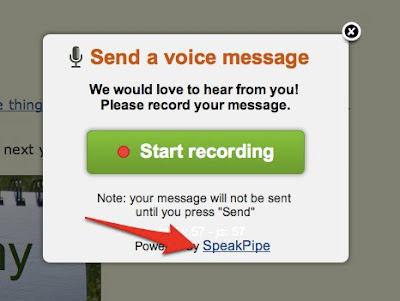
SpeakPipe is a little widget you can easily add to your blog so that people can leave oral comments and give short oral feedback.
It is really easy to set up- just click on sign up and follow the path.

 Click on the settings
 This will take you to the widget settings where I changed the colour to purple so that it would stand out from my blog background.
Then click on Speak Pipe Installation Guide.

Pick your blogging platform.
 I chose Blogger cos that's what I am using.

I have more than one Blogger blog so had to select which blog to put it on. You can repeat the process for other blogs.
 I chose Blogger cos that's what I am using.
I have more than one Blogger blog so had to select which blog to put it on. You can repeat the process for other blogs.
Click add widget. Save the changes and you're done.

When people click on the widget they will be asked to authorise the use of their microphone and they can record. The message will be sent to the email you registered with.

People click on the widget, allow recording, record their voice and you get an email telling you that you have a new oral comment.


3 comments:
Thanks for this great idea. I have just added it to my class blog. No doubt my chn will want one on their blogs as well!
Hey Miss Panther
I used Quicktime to record the comment then uploaded it to AudioPal so that we could have a recording of the Speakpipe audio.
You idea is a great one though.
Cheers
Allanah
This is cool!
Post a Comment